Promoting Passion Week 65: Proofing Images
If you create works of art that will eventually be printed, it is important to know how to proof your work. From understanding colors to making sure what you envisioned actually turns into your vision, it can all be rather boring yet still necessary. I personally have always been a little bit neurotic when it comes to proofing my works. I want to make sure it all looks the same across each medium. So here are some tips to proofing your work before you hit “print”, and even after.
2. When thinking about composition, which is not as easy to see with a fresh set of eyes, consider mirroring your image in Photoshop. Simply go to Image–>Image Rotation–>Flip Canvas Horizontally. This will mirror your image and trick your mind into seeing everything in a different way. Suddenly the light will look different and the whole composition may seem off-balance, as one example. It is the perfect way of seeing your creation from a whole new perspective.
3. Look at your art on different backgrounds. Try a white background and then a black and see if it changes how you view the work. You might find your image to be better suited to a white background, or you may appreciate seeing more details when it pops against the black.
4. Upload your image to social media – privately. In Facebook, I open my messages and send myself the picture. No one else can see it, and I can see how the image looks both in thumbnail form and sized for the web. I can also see if social media is distorting the image at all – either through compression or hue/saturation/lightness shifts.
5. Look at your image on multiple monitors. I personally always look at a “finished” piece on my desktop, my laptop, and then my phone. Each has a slightly different color profile. My laptop is less saturated than my desktop, and my phone is somewhere in between. It helps to show you what others might see based on the monitor they have, and could even show flaws in the piece when looking at a less saturated screen.
6. When printing, if possible, look at your image on your printer’s computer. I don’t live near my printer anymore, but when I did I would sit with him (mostly in my earlier printing days) and see how my image looked on his monitor, knowing that it would print similarly to what I saw on the screen. Recognizing differences between your computer and your printer’s computer is good to know, since you can then calibrate your monitor to match your printer’s.
7. Create a small proof when you feel you are ready for print. A “proof” is a smaller version of the actual print you want in order to test colors, lightness, etc.. Most good printers will offer proofing services, and if they do not, you might want to ask specifically for that service or find someone who will proof with you. This allows you a first glimpse at your work in person, and helps the printer know what changes need to be made.
8. Create the actual print in the size you desire. Here is an admission – I don’t proof my prints anymore, or at least not regularly. My printer and I have worked together for five years now, so he knows very well what my prints should look like. He knows that if something looks too green, I won’t like it. He will reprint without even asking because he knows my work intimately now. Whenever you feel comfortable, print your image and be proud!
9. Ask your printer to save that proofed file. Once you get the print you like, save that image on his computer so that in the future, should you need to print that image again, you do not have to proof the image again. The printer can always print from that proofed file, until the next image comes into play and the process begins again.

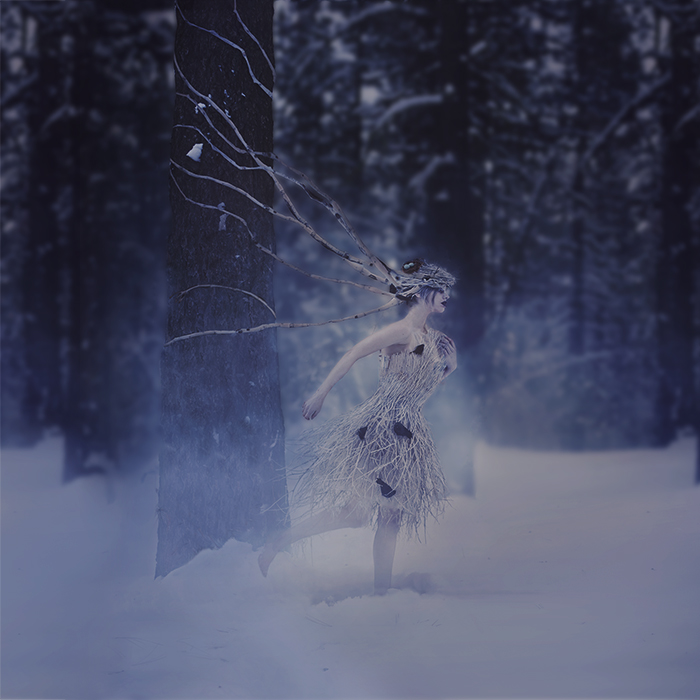
Styling/Dress: Michelle Hebert
Makeup/Hair: Mariah Kraft
7 thoughts on “Promoting Passion Week 65: Proofing Images”
Thank you for the information and advice Brooke! It comes at a very good time for me because I’m just about ready to start offering to sell my prints. I’ve got all my prices set out – all I need is to find a lab that will print all the sizes I’m looking for. My current printer can’t print any larger than 20 inches at the shortest side (and unfortunately no recommendations on where to go).
I’m always really worried about how my prints will turn out, but everything I’ve printed so far has turned out great.
Admittedly, I do need to sleep on it. I just always get so excited with what I’m making that I want to share it right away!
I just have to say – I would LOVE to have one of your prints someday. I promised myself that once I make photography my career and have my own workspace or studio, one of the first things I would buy is a print of one of your images (I keep going back and forth between “The Creation of Blood and Bones”, “Finding Strength”, and “Twins On The Tide”).
These tips are awesome! I never thought that changing the background color on photoshop could make a difference but I’m definitely going to try that. I haven’t been printing my images lately but whenever I do, like you said, I always make sure it looks ok on the monitor at the printers.
I think another great thing to do is to experiment with paper. When I started printing my work I only used Hahnemuhle’s Museum Etching and I was in love with it. But one time I went to print and they didn’t have that in stock and I kinda panicked, but then I tried another type (Hahnemuhle’s Torchon) and I really liked that too.
Here are some of my images printed 😀
https://amanialshaali.files.wordpress.com/2014/06/aaa_7204.jpg?w=1440&h=960
https://amanialshaali.files.wordpress.com/2014/06/aaa_7222.jpg?w=1440&h=960
https://amanialshaali.files.wordpress.com/2014/06/aaa_7236.jpg?w=1440&h=958
I still only print one of my work and I must say that I enjoyed very much. I confess, it was to offer, but I liked so much that I ended up staying with the print. 🙂 Well! I think I was lucky, because I did not have this all care you mentioned, and the photo turn out as I expected. Maybe 90% the same as I saw on the screen. But I’m already progressing at this point to, because I have already contacted some printers and one of them suggested I take my computer to calibrate as the calibration of their printer. And it also said that he made free proof and always by my presence. So many great advice Brooke. I’m learning so much with you, Thank you! And how was this weekend? Was it good? I hope it was. Stay well!
Totally agree… It is so rewarding to see ones work in print <3 I would add one other tip: Visit your printer and test what options they offer in terms of print medium/paper that best suites your work and adds to the finished product.
Thanks for the advice, Brooke! Maybe one day I will print my images :). I think that I heard this from you a while back but can’t remember when; always zoom in to 100% and look over the whole surface of the image, especially a composite. Only to make sure that there are no flaws. If you print big maybe there is a line across the image that can’t be seen unless you zoom in :).
Brooke is really very useful topic!!!! And it all really works, though the printing on photo paper and print on canvas is different, though the fact that we can’t afford to print on a plotter at home.
P.S. You are so beautiful in the video, it is impossible to look away.